How To Implement/Add Syntaxhighlighter To A Blogger Blog

How To Install Syntax Highlighter On Blogger
Syntax highlighter comprises of different languages like php,python,ruby,javascript,css,mysql etc but in this tutorial we are going to be install php but before we proceed let make sure we understand the principles behind this tutorial.
The SyntaxHighlighter configuration consists of four parts:
1. The core files
2. The SyntaxHighlighter theme
3. The specific brush(es) needed for the blog
4. The configuration script
1) The core files
The core files consist of the following JavaScript file and style sheet:
<script src="http://alexgorbatchev.com/pub/sh/current/scripts/shCore.js" type="text/javascript"></script>
<link href="http://alexgorbatchev.com/pub/sh/current/styles/shCore.css" rel="stylesheet" type="text/css"></link>
2) The SyntaxHighlighter theme
There are a number of themes available for SyntaxHighlighter, the style sheet below is the default theme.
<link href="http://alexgorbatchev.com/pub/sh/current/styles/shThemeDefault.css" rel="stylesheet" type="text/css" />

Other themes and How To Implement Theme
To implement other themes,all you just have to do,is to replace shThemeDefault.css with desire theme name.
Django
<link href="http://alexgorbatchev.com/pub/sh/current/styles/shThemeDjango.css" rel="stylesheet" type="text/css" />
Output

Eclipse
<link href="http://alexgorbatchev.com/pub/sh/current/styles/ shThemeEclipse.css " rel="stylesheet" type="text/css" />
Output

Emacs
<link href="http://alexgorbatchev.com/pub/sh/current/styles/ shThemeEmacs.css " rel="stylesheet" type="text/css" />
Output

Fade To Grey
<link href="http://alexgorbatchev.com/pub/sh/current/styles/ shThemeFadeToGrey.css" rel="stylesheet" type="text/css" />
Output

Midnight
<link href="http://alexgorbatchev.com/pub/sh/current/styles/shThemeMidnight.css" rel="stylesheet" type="text/css" />
Output
RDark
<link href="http://alexgorbatchev.com/pub/sh/current/styles/ shThemeRDark.css " rel="stylesheet" type="text/css" />
Output

3) The specific brush(es) needed for the blog
Depending on the structured language that needs to be highlighted, the corresponding brush needs to be imported. The SyntaxHighlighter site contains a complete list of all available brushes. In this example we will add the brushes for 'PHP' .
<script src="http://alexgorbatchev.com/pub/sh/current/scripts/ shBrushPhp.js " type="text/javascript"></scrip>
Only add the needed brushes as for each page the brushes are retrieved from alexgorbatchev.com (the SyntaxHighlighter site) and this increases your blog page load times!
4) The configuration script
After all needed dependencies have been added we need to enable a specific mode for Blogger and instruct SyntaxHighlighter to highlight all code blocks found on the web page. This is done by adding a JavaScript snippet as shown below.
<script language="javascript" type="text/javascript"> SyntaxHighlighter.config.bloggerMode = true; SyntaxHighlighter.all(); </script>
These are some related topics to these topic:
- How To Implement PrismJs Syntax Highlighting to your Blogger/BlogSpot For Better Formatting
- How to Use Google Prettify Syntax Highlighter With Blogger
Installation Procedures
• Login into your blogger dashboard
• Click on Theme follow by Edit HTML
• Press CTRL+F and search for </head>
• Copy and paste the below code before </head>
<!-- 'SyntaxHighlighter' additions START --> <script src="http://alexgorbatchev.com/pub/sh/current/scripts/shCore.js" type="text/javascript"></script> <link href="http://alexgorbatchev.com/pub/sh/current/styles/shCore.css" rel="stylesheet" type="text/css" /> <link href="http://alexgorbatchev.com/pub/sh/current/styles/shThemeDefault.css" rel="stylesheet" type="text/css" /> <script src="http://alexgorbatchev.com/pub/sh/current/scripts/ shBrushPhp.js " type="text/javascript"></script> <script language="javascript" type="text/javascript"> SyntaxHighlighter.config.bloggerMode = true; SyntaxHighlighter.all(); </script> <!-- 'SyntaxHighlighter' additions END -->
• Finally Click on Save
Note:If you have follow this steps successfully,you have implemented SyntaxHighlighter to your blogger blog.
SyntaxHighlighter Usage
In order to use SyntaxHighlighter we need to wrap the section to be highlighted with an XML tag called <pre>. This tag has one required parameter called 'brush' which is the same brush that was added in section 3 of the above setup.
For this example we will add a HelloWorld PHP to a <pre> tag with a 'php' brush . Copy the below code and paste it inside a Blogger post.
Make sure all right angle brackets within the <pre> tags are HTML escaped, in other words all < (less than character) must be replaced with “<” (without quotes)!
<pre class="brush:php"> <?php $hello = "Hello World"; echo $hello; ?> </pre>
SyntaxHighlighter Options
In addition to the mandatory 'brush' parameter, the <pre> tag has a number of optional parameters. For example it is possible to highlight one or more lines to focus the reader’s attention by adding the 'highlight' parameter as shown below. Checkout the full list of additional parameters that can be configured.
<pre class="brush:php; highlight: [3,4,5]"> <?php $hello = "Hello World"; echo $hello; ?></pre>
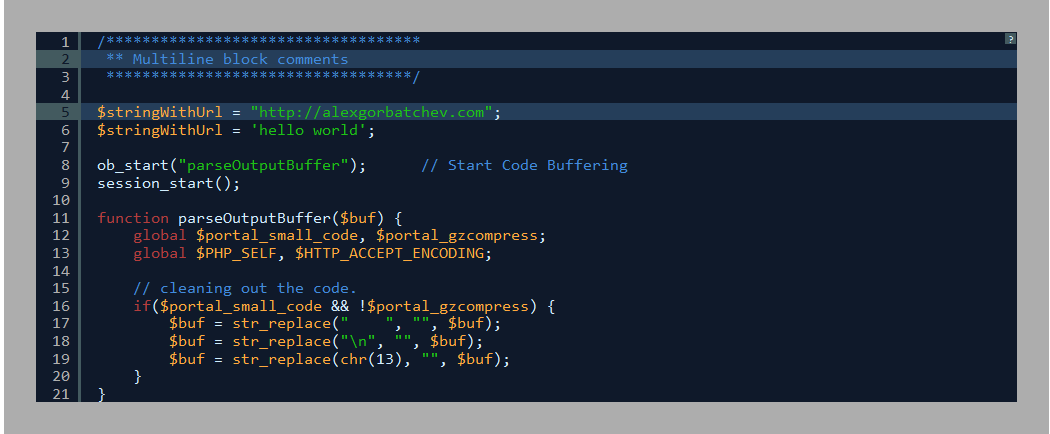
SyntaxHighlighter is an open source Java Script client side code syntax highlighter.